
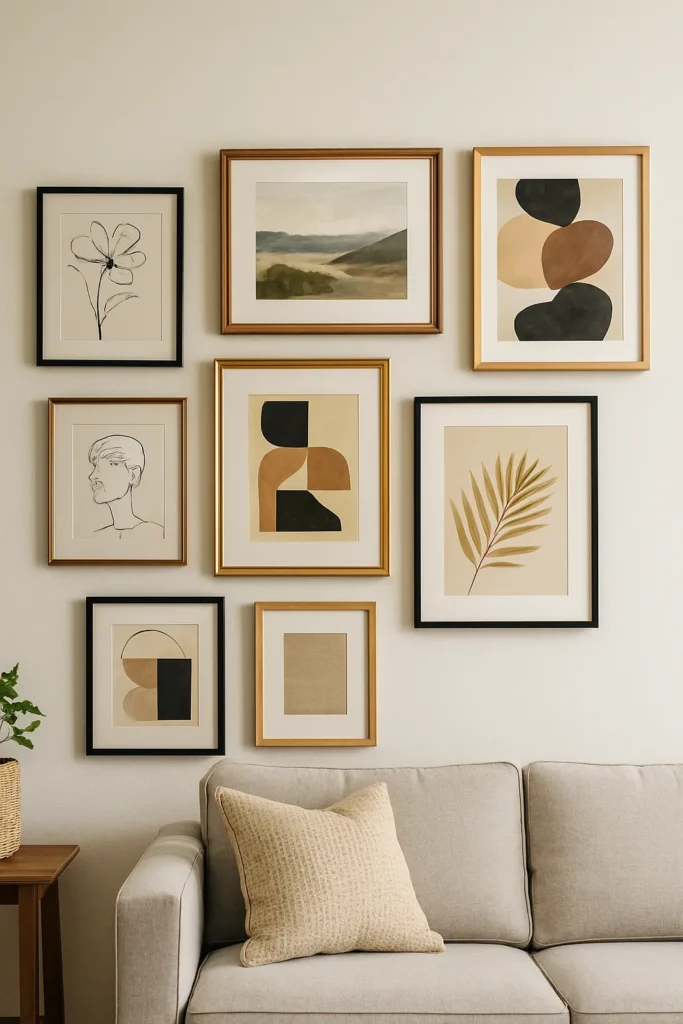
3. Create a Gallery Wall with Printable Art
This was honestly one of the most satisfying DIY projects I’ve ever done. My living room wall felt so bare, but I didn’t want to spend hundreds on framed artwork.
I got creative—and created a gallery wall using affordable printable art and budget frames. The result? A wall that feels totally custom and curated, and it cost me less than dinner for two.
The beauty of a gallery wall is that it allows you to express your style—whether you love minimalist line art, vintage botanicals, or bold abstract prints.
And thanks to printable shops on Etsy and free resources online, you don’t need to be an artist (or a millionaire) to make it look amazing.
🖼️ Here’s How to Build a Budget-Friendly Gallery Wall:
Choose a Theme or Color Palette: Keeping things cohesive helps avoid a cluttered look.
Mix Frame Sizes: I used a mix of 8×10 and 11×14 frames for depth.
Print Your Art at Home or Locally: You can find free high-resolution prints on Unsplash or shop digital files on Etsy.
Lay It Out First: I traced my frames on newspaper and taped them to the wall to visualize before hanging.
Command Strips = zero damage and renter-friendly magic.
You’ll be shocked by how this one DIY decor trick instantly transforms a space—especially blank walls in living rooms, staircases, or even above a desk.
I used a mixed frame set from Amazon with black, gold, and wood finishes—it came with everything I needed (even layout templates!). It took all the guesswork out and made hanging so much easier.
If you want this same look, try these printable boho wall art sets. You can print them at home or send them to a photo center. The combo of abstract shapes and natural tones adds so much style without spending more than $10.
To get everything perfectly spaced, I used this picture hanging tool kit. It has a built-in level and placement guides—it made the whole process stress-free and super fast!
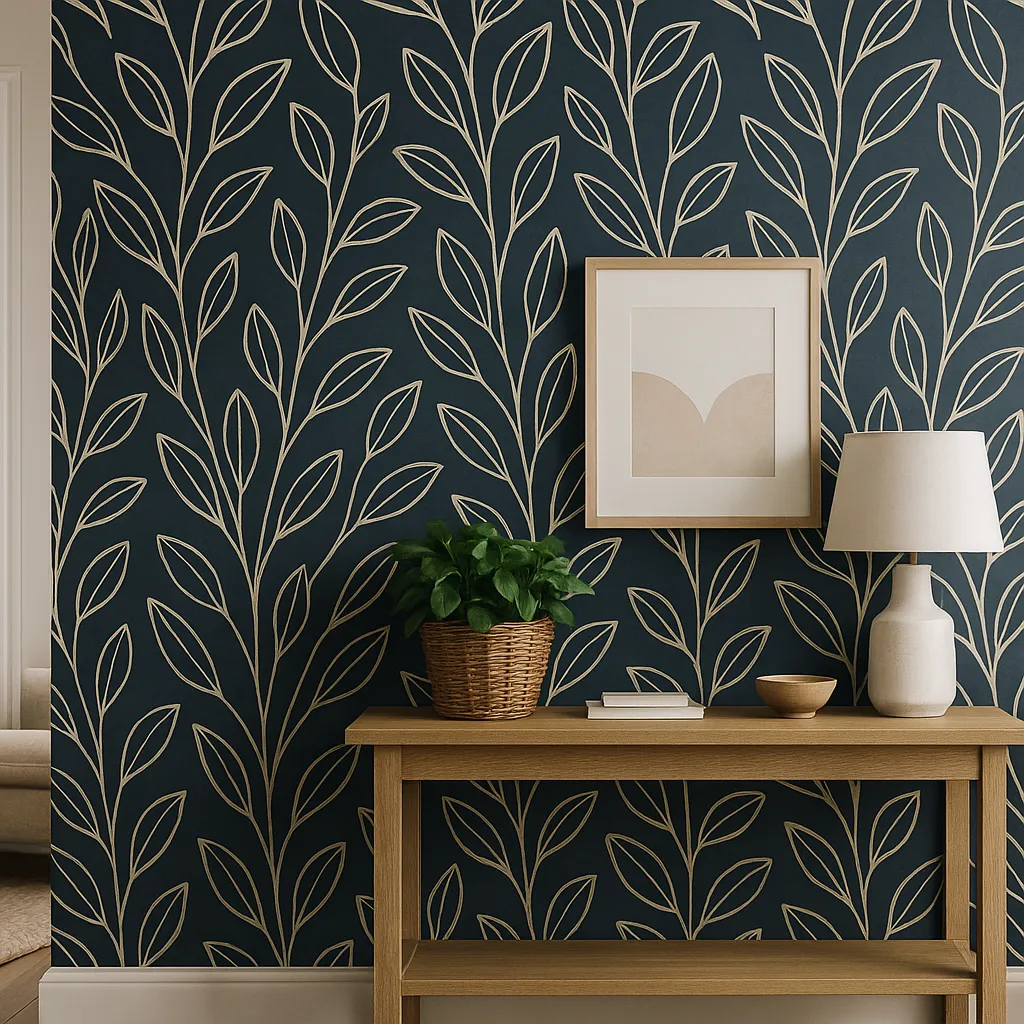
4. Peel-and-Stick Budget-Friendly DIY Wallpaper for a Wow Effect
If you’re craving a big change but don’t want to commit to paint or deal with a renovation mess, peel-and-stick wallpaper is your best friend.
I was skeptical at first, but the moment I installed a bold botanical print in my powder room, I was hooked. It completely transformed the space in under two hours—and I did it all by myself with no special tools.
The best part? It’s renter-friendly, removable, and comes in endless patterns. Whether you love tropical prints, geometric shapes, or minimalist textures, there’s a wallpaper out there that will make your walls pop.
🎯 Tips for Using Peel-and-Stick Wallpaper Like a Pro:
Choose the Right Wall
Accent walls work best: think entryways, behind a bed, or even inside bookshelves or closets for a surprise wow-factor.
Prep Your Surface
Wipe the wall clean and let it dry. Smooth, semi-gloss paint works best. Rough or textured walls might need a primer layer first.
Don’t Skip the Level
Start from the center or edge, use a level and a smoothing tool (or even a credit card!) to eliminate bubbles as you go.
Try Temporary Panels First
If you’re nervous, test a few peel-and-stick panels first before committing to a full wall.
This type of DIY home decor is one of the most satisfying upgrades I’ve ever done. It’s beginner-friendly and totally reversible—which means low stress, high impact.
This peel-and-stick botanical wallpaper adds instant style with zero mess. It’s perfect for accent walls, rentals, or anyone who loves to refresh a space seasonally without paint.
I styled mine with this natural wood console table. It’s lightweight, easy to assemble, and fits beautifully under art or mirrors—plus it looks much more expensive than it is.
Nothing finishes a vignette like a pop of green. I love this wicker plant basket with faux greenery—it looks real, adds texture, and never needs water.